
Do you have that, that you spend hours, sometimes days, looking for a good agenda or planner, one that includes everything? The perfect personal planner that meets all your requirements and is also affordable?
A regular agenda, which I started with, soon turned out to not have everything I needed. This resulted in sticky notes at the back of my agenda with notes that I lost and the loose paper sheets with notes that I also lost. In addition, I bought other booklets to keep track of my finances, my appointments and mileage registration, notebooks for my notes, etc. I also had my phone, where I had several apps to store a few things. A digital agenda, etc. And so for me, there was actually a proliferation of books and apps to plan everything and I more or less lost the overview. It had to be done differently, I thought.
Some time ago I went from website to website to find the perfect personal planner for daily use, to better keep track of the various tasks that I have as an entrepreneur, as secretary of an association, and as a father. A system with everything together and that is also clear. Deciding which personal planner to use can be difficult. There are so many systems on the market today. So I started making a system for myself. For just a few euros, I was able to fully adjust my daily planner to my own needs.
Today I’m going to show you how I did that and how you can put together your own planner according to your needs.

Step 1: Find a folder (organizer) for your personal planner
Here on the website, I have some organizers that are suitable for putting together the planner. You will find them in different price ranges, it just depends on what you prefer. But you don’t have such an organizer for a while, but if it is good for the coming years.
This button takes you to the page with one of the various organizers, which are for sale via Bol.com. On Bol.com you will of course find many more and who knows, there may be one that is to your liking.
Step 2: Purchase a hole punch
Here in the webshop, you will also find a link to a 6-hole punch from Rapesco, which is then available via Bol.com. I personally think this is a good one, which I myself also use to provide my A5 sheets with 6 holes.
Step 3: Cut paper to A5 size
The beauty of this system is that you can choose what paper and what color paper you want to use for your organizer. Pure white or perhaps a slightly yellowish color, thin or a bit thicker paper, entirely as you want.
The easiest way is to cut an A4 sheet in half before printing. You can do that best with a cutting device, in which you also have a wide choice. For the time being, I only have planner style sheets of size A5. But it is possible that in the near future I will also make the formats “Personal”, “A6” and “Pocket”. But for now, I will keep it on A5.
Step 4: Figure out the planner style sheets for needs.
Here in the webshop, I have several planner style sheets. Many will certainly follow to be able to plan and keep track of everything. This way you can organize your organizer yourself the way you want it.
For example, to set up a good basis for 2020, you can think of the following files:
• Personal data (as the start of your organizer/planner)
• Agenda 2020 (speaks for itself)
• Year planner (as an overview of the major events in 2020)
• Address list (for all your contacts)
When you have selected those style sheets that you would like to have in your organizer for your planning, you can download them immediately after payment and get started.
Step 5: Print, make holes, and place in the organizer.
After downloading with the free program Adobe Acrobat Reader, print on the pre-cut A5 paper. Some printers have a module for double-sided printing, otherwise, you have to turn the paper again after printing to turn the other way. All files in the shop have a left and a right page, taking into account the space for the perforation.

Once you have made holes in them you can put them in your organizer.
Step 6: Tabs
If you want to make a distinction between, for example, your finances, hobbies, work, household, etc. then tabs are a nice solution. At the moment I do not have any tabs in the range, but I hope to be able to add these to the shop soon. You can consider making it yourself, for example, from 300 grams cardboard.
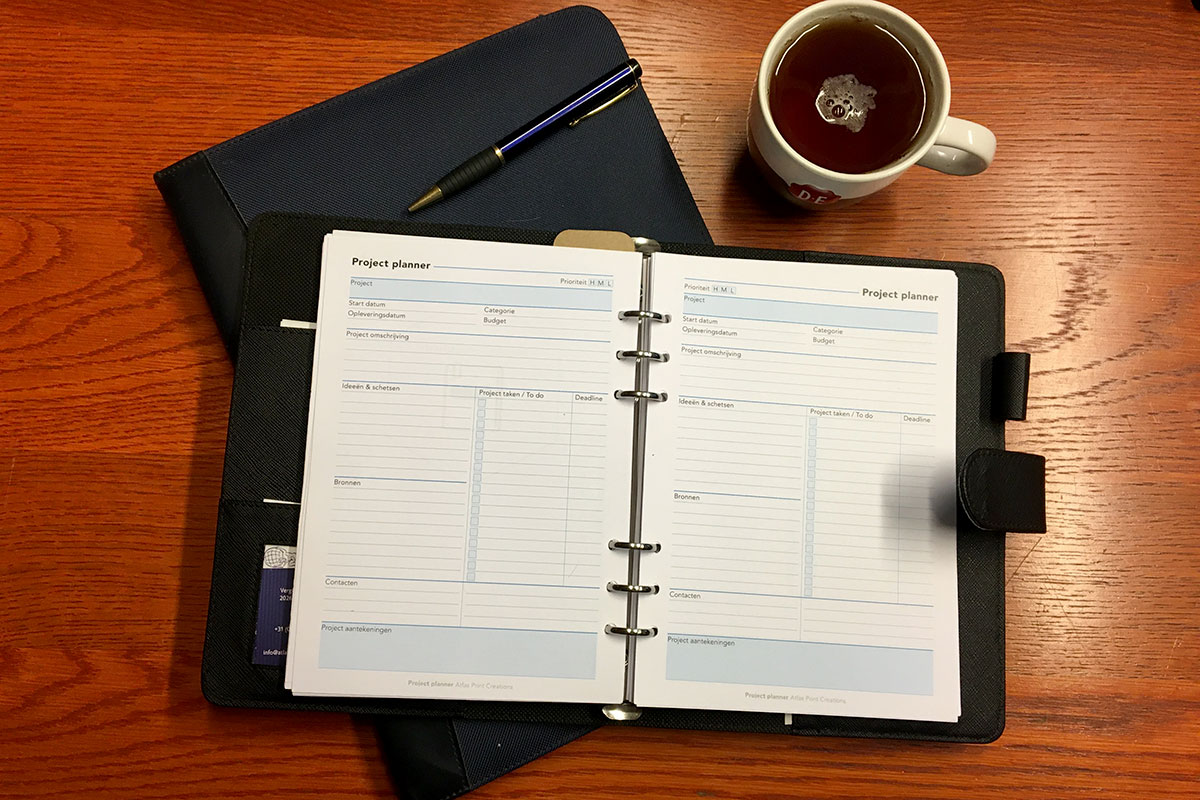
The result
What I love is a beautiful, clear organizer that contains everything and that is also affordable. Admittedly, a very nice organizer costs some money, but it is definitely worth investing in. And I think the style sheets (planner inserts) are not that expensive. Once you have purchased the style sheets, you can print as much as you want and you can continue to supplement your organizer.
I hope this gives you an idea of how to make your own affordable organizer and supplement as needed. Have fun with it and happy planning …


Leave A Comment